Creating a Recording
Creating a recording is easy. The steps below explain how:
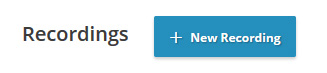
- Recordings: Click on + New Recording on your recording dashboard. This will load the creating a recording page.
- Name: Enter the recording name.
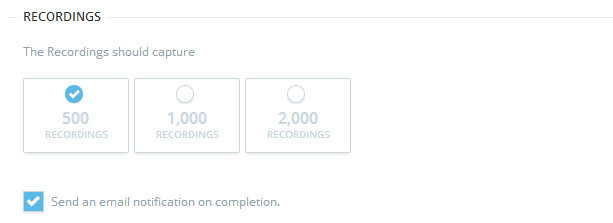
- Recordings: Select how many visitor recording you want to capture in one session.
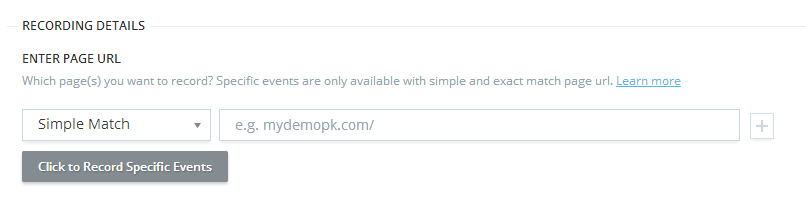
- Enter Page URL: on which Page you want to record visitor activity. You can add multiple URL’s by clicking on Plus Icon. If you wish to record visitors activity from multiple pages, simply select the Starts with, Ends with, Contains or Regular expression match type.
Click to Record Specific Events: This feature saves your hours of work. Otherwise, you need to watch hundred’s of recording to find valuable data. This feature works with “Simple Match & Exact Match” Page URL. Learn more about Specific Event. - Mask Elements In Recording: If you want TruConversion recordings does not collect data from certain field and elements. Just add this attribute to their code. By doing so, TruConversion does not collect the data and instead sends an asterisk (*) for each character. TruConversion server receives astrick(*) for each character.
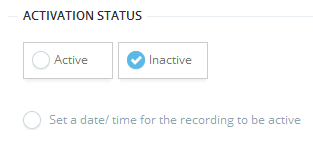
- Activation Status: Checking Inactive will help you schedule your heatmap for a future time/date.
- Start New Recording: Click on Start New Recording.


Please Note: By default, TruConversion records/show all keystroke data on input. By enabling this ‘Data Obfuscation’ settings (from Privacy Options) TruConversion maske all keystroke data on input and text-area fields. On recording replay all the input data will be appear as masked. This setting is available under Privacy option.
This article will be helpful: Data Obfuscation
This article will be helpful: Data Obfuscation